
🔮 How to use AI to reclaim deep work
The Eisenhower Matrix, automated.
Hi, it’s Azeem.
Two weeks ago I asked the question of can AI finally clean my inbox? I imagined an assistant inspired by the Eisenhower Matrix that could do ruthless triage on my behalf: deflect distractions, protect focus time and act on urgent matters with minimal input from me.
A few days later, my colleague George Johnston had a working prototype for me.
Today, he’s sharing the full step-by-step guide so you can build your own AI assistant – no code required and in under 15 minutes. If you’re an Exponential View member, you’ll also get free access to the tools we used.
Enjoy!
A note: The original email version of this post was missing part of a critical prompt. This web version includes the complete content as intended. Thank you for your understanding.
⚡️ NEW: GET TOP AI TOOLS WITH YOUR EXPONENTIAL VIEW MEMBERSHIP
We’re launching a new perk: exclusive access to some of the best AI tools we use ourselves. Annual members now get $1,250+ worth of AI products right away, including Perplexity Pro for research, Lindy and Wordware for agentic workflows, Julius for data analysis.
Already an annual member? Here’s how to claim your bundle.
📝 How to build your own artificial assistant
Last Sunday, I opened my laptop to find 73 new email threads, six Slack pings and a calendar resembling the final stages of a Tetris game. Just as I was absorbing the chaos, Azeem’s post on the AI agent he *really* wants appeared in my inbox.
His aspiration for an AI solution was this:
The QuadrantGuardian would operate on three principles. First, ruthless triage. I get about a thousand inbound requests a year, even spending as little as two minutes on each one eats up a workweek. Not so with QG, it would classify every incoming request in milliseconds. The trivial would vanish into the ether. Genuine urgencies would make it through. The precious important-but-not-urgent tasks would nestle into protected focus blocks, safe from interruption.
I immediately realised that many of the items on his wishlist were already doable without needing to know any code, inside an AI tool called Lindy. I knew that Azeem already used Lindy so I set up a flow for him.
By the end of this post, you’ll learn how to build this exact flow to help you declutter your workspace.
And if you’re an EV member on the annual plan, you’ll get access to the Exponential AI Bundle where you can unlock Lindy Pro with an extended free trial and more tokens to run deeper flows like this one.

Let’s go…
When I first set out to build this workflow, I considered the usual suspects: Zapier and Make. Both have moved fast to add agentic AI features, balancing innovation with the needs of their long-time users. But in any new tech category, fresh entrants have a chance to rethink the experience from the ground up without compromise. They can focus on doing one thing exceptionally well.
Emerging tools like Lindy AI, Wordware and n8n come with trade-offs. Their integrations are still growing (though accelerated by coding assistants and MCPs), and their interfaces may feel unfamiliar to non-early adopters – unless they’ve nailed the UX.
For this workflow, I chose to work with Lindy. This walkthrough will help you build a working agent to declutter your comms, but I invite you to notice what makes this feel different from building a traditional workflow. Along the way, we might even uncover what sets truly agentic products apart.
Prerequisites (3 min)

Step 1: Set up Lindy (1 min)
Sign up or Log into Lindy (If signing up, remember to use your EV Bundle promo code)
Sidebar ➜ + New Lindy ➜ Start from Scratch
When create, at the top, click on the default name eg. New Lindy 1 and rename it to 📧→🤖 Inbox‑to‑Action Bot.
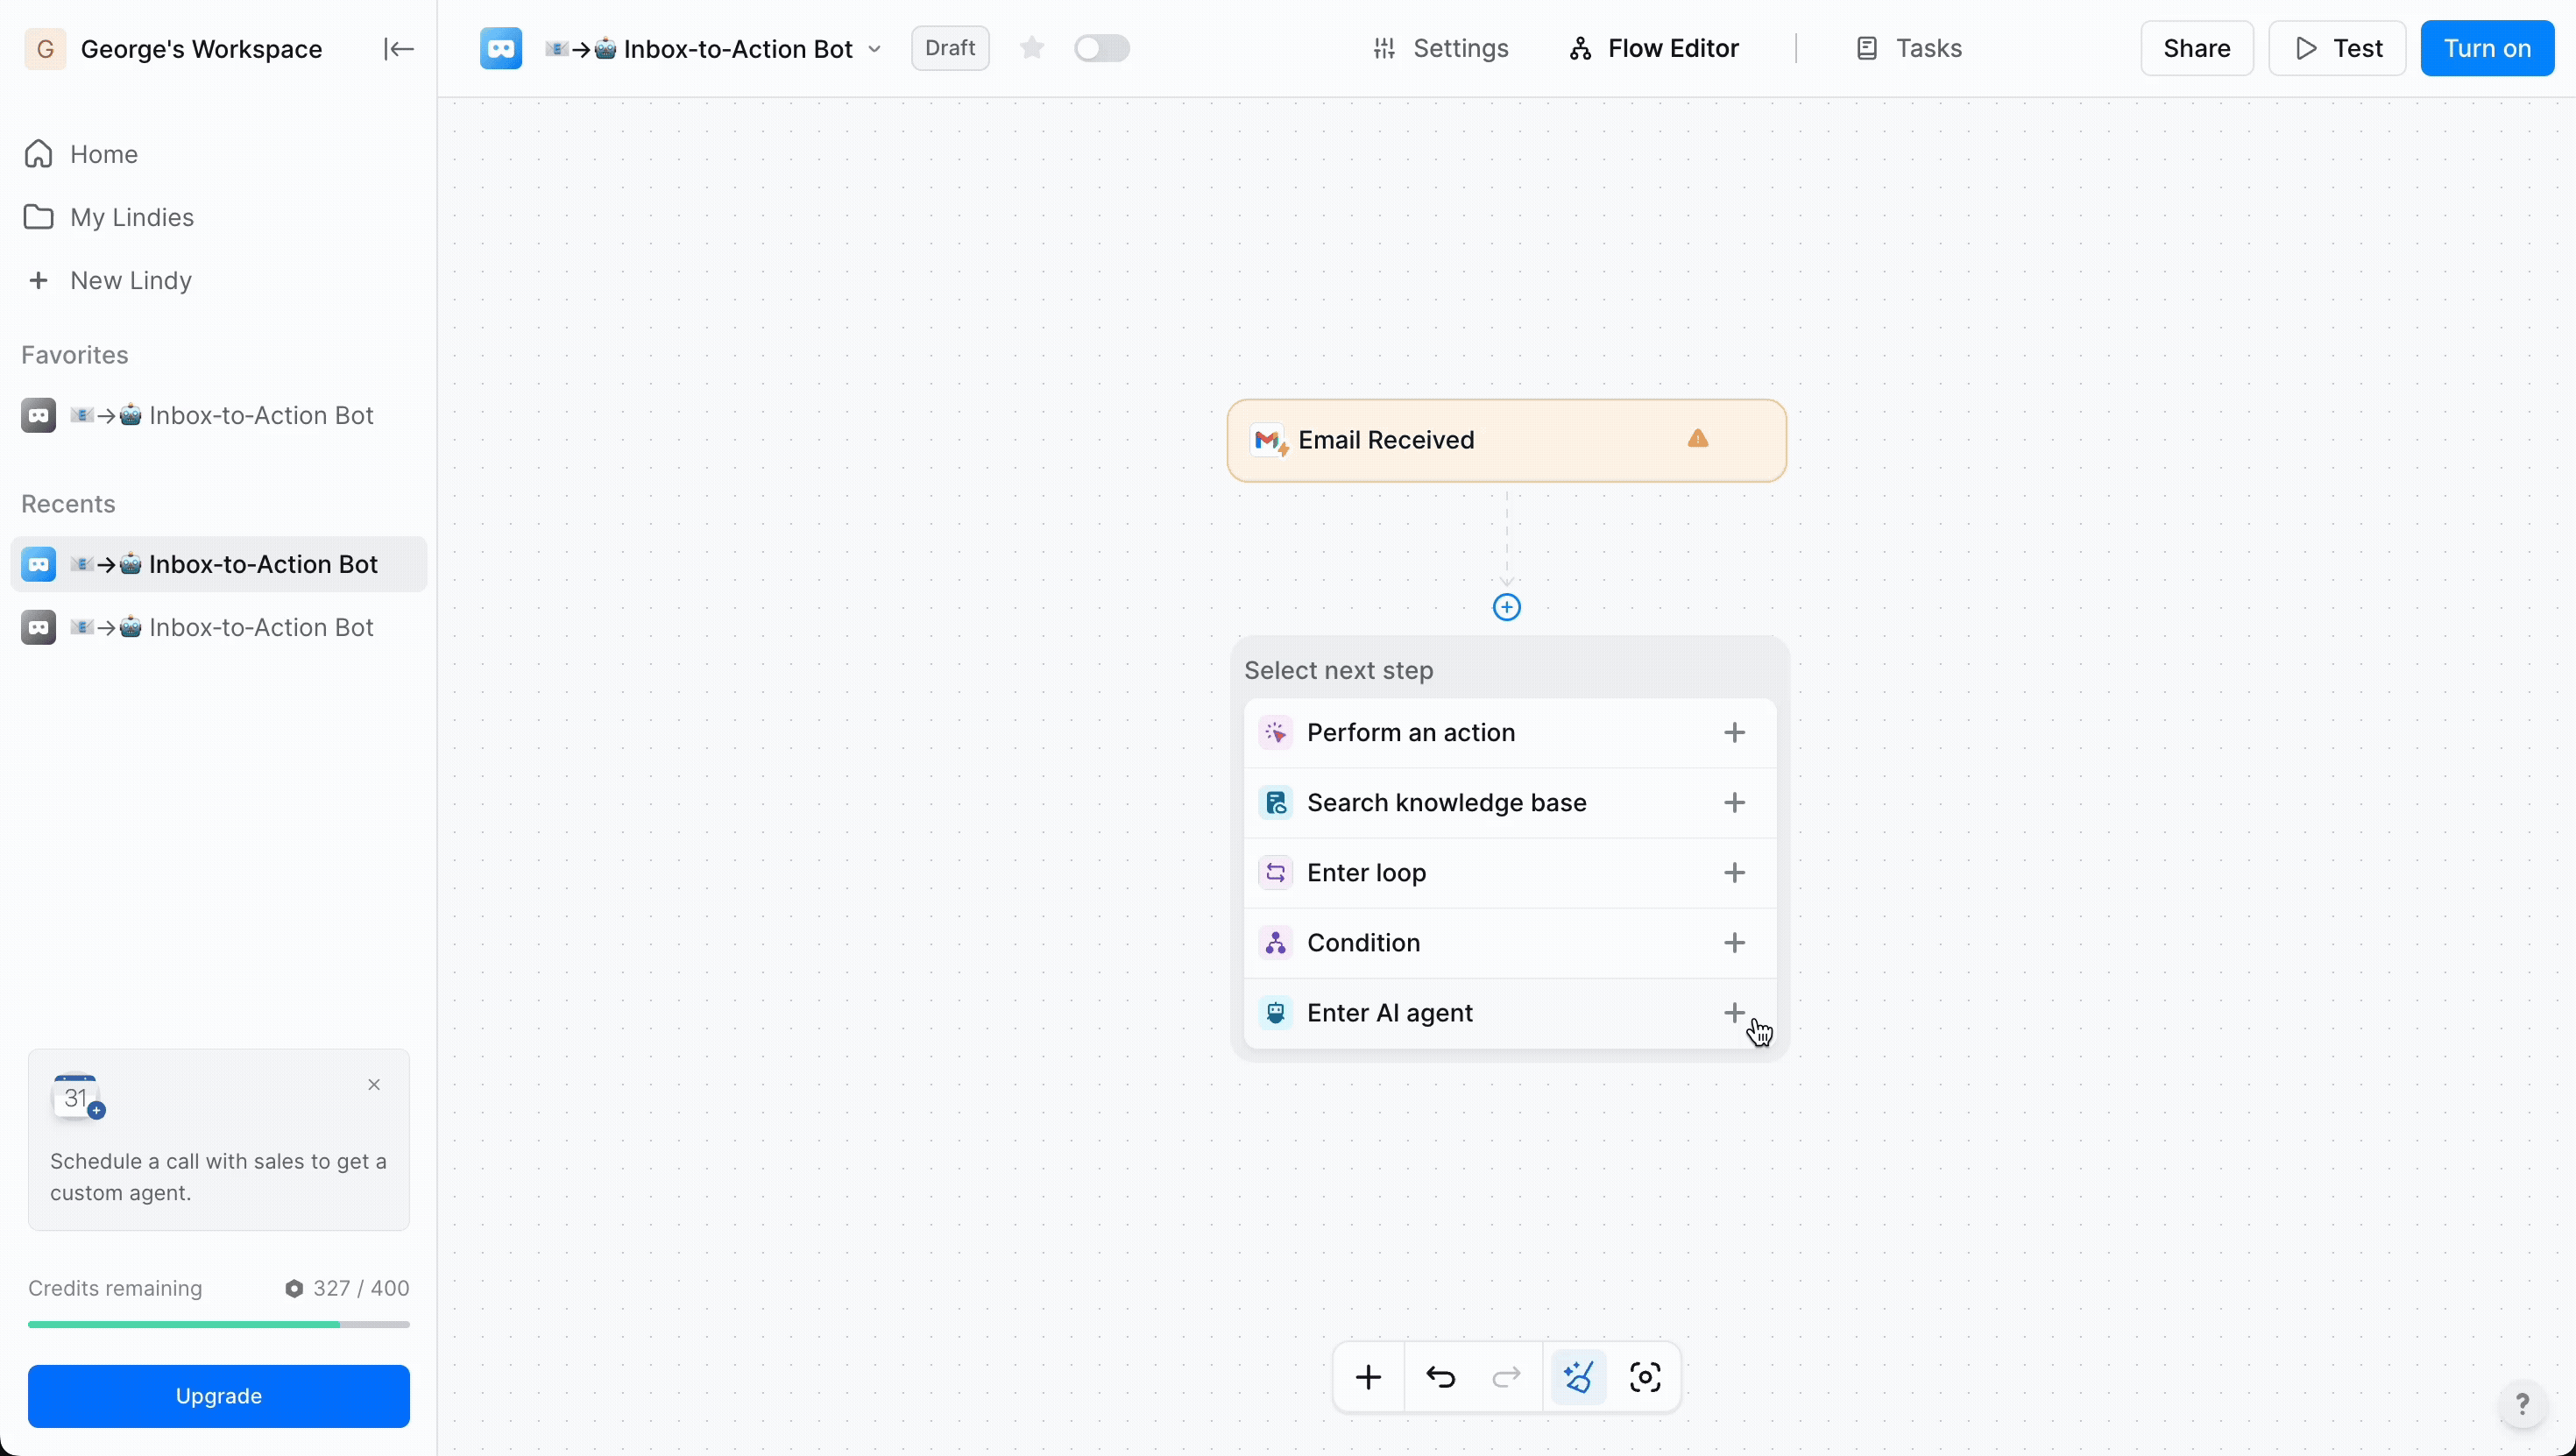
Step 2: Add Trigger → Email Received (1 min)
In the empty canvas click + Select Trigger ➜ choose Gmail.
Trigger type Email Received
Click back onto the main canvas.
Click Save in the top right hand corner.


Step 3: Summarise & Classify Email (2 min)
Click + under the Gmail trigger node ➜ Enter AI Agent
Title the node Summarise email (On the node, click the 3 dots on the left > Rename).
Paste prompt below.
🔥Hot tip: I asked ChatGPT to create this prompt and you can ask it to better define what urgent means to you and use that prompt instead.
You are reviewing an email thread from Gmail.

Summarise the thread in ≤60 words, focusing on the main action or decision required.

Extract the following structured data:

- **owner**: The person responsible for taking action (use sender name if unclear, and avoid assigning 'me' unless the sender is explicitly asking the user to do something).
- **due_date**: Any specific or implied deadline (include exact date if mentioned, or estimate based on phrases like "by end of day", "next week", etc.; otherwise use null).
- **sentiment**: One of [urgent, normal], based on language, tone, deadlines, and escalation phrases (e.g. "asap", "important", "no rush", etc.).
- **short_title**: A ≤6‑word calendar-style heading summarising the key action or topic.
Respond only in JSON with keys summary, short_title, owner, due_date, sentiment.
In the top right hand corner, click Test ➜ you’ll see a JSON preview. (If Gmail has no matching email yet, forward yourself one and re‑test. You may need to re-test by re-adding the first gmail step)
Click back onto the main canvas.
Click Save in the top right hand corner.
Step 4 - Send a Slack DM (3 min)
On this step, you’ll receive the slack DM that there’s an urgent email with a title and summary. You will be able to reply to this email, from Slack or alternatively ask your agent to book in a 30 minute slot when you’re next available so you can tackle it with focus.
+ Action again ➜ Slack → Send Direct message.
For User, select the Manually option and enter the email of your slack account.
For Message, select the Prompt AI option and enter the below (be sure to customize how you like).
🔥 Urgent: {{short_title}} - {{summary}}

Link: {thread_url}}

Reply to me with a message to send back on gmail (put it within single-quotes eg. ' '), or ask me to set a next available 30 minute focus slot in your diary.
Click Save in the top right hand corner.
Step 5 - Add the conditions based on your Slack reply (3 min)
Hover beneath the Slack node, under the After reply received’ tab ➜ click + Add Step → Condition.
On the right‑hand panel you’ll see Condition 1 and an empty text box. Let’s handle the quick gmail reply first. Paste:
the user wants to reply to the emailScroll a bit on the right hand pane and, click + Add Condition → Condition 2 appears. Paste:
the user wants to create a 30 minute calendar slot to focusNow you’ve set up your two conditional branches. Rename the node title to Follow-up choice so it’s easy to read in the flow.
Step 6 - Add the action to reply to the email (2 mins)
After the conditional path: the user wants to reply to the email
+ Action ➜ Gmail → Send Reply. (It may prompt you to grant further permissions on the right)
Body: (Be sure to select the ‘Prompt AI’ option on the field settings).
Use the reply from the slack message from the user. The message to use will be provided within single quotes eg. ' '.In the Signature section, you may want to remove the default, ‘Sent via [Lindy](
https://lindy.ai)’ message when it sends the invite to you.
Click Save in the top right hand corner.
Step 7 - Add the action to create the Google Calendar event (2 mins)
After the conditional path: the user wants to create a 30 minute calendar slot to focus
+ Action ➜ Google Calendar → Create event. (It may prompt you to grant further permissions on the right)
Name: {{short_title}}. (Be sure to select the ‘Prompt AI’ option on the field settings).
Description: (Be sure to select the ‘Prompt AI’ option on the field settings).
Step 8 - Test!
Hit the ‘Test’ button on the top right to run through your flow before turning it on.
The Finale: Turn your agent on (5 sec) 🤖⚡
Top‑right blue button Turn on
If Lindy prompts “Run on historical emails?” Choose No for now.
Want to extend further? Let’s make it fully autonomous with Lindy’s Pro tools
↓↓ Pro tips & automation steps below — unlock premium Lindy with more tokens to run deeper flows, Perplexity Pro & other AI tools ↓↓